eForms is a form building module that comes standard with every FileAssist personal online file storage account , as well as work accounts and enterprise accounts. From surveys and forms, to questionnaires and quizzes, design your forms, send them to anyone, collect and manage responses, and analyze the information.
To get started, log in to your account and click the eForms tab.

This will take you to the eForm Dashboard, where you can create, view, or manage eForms on your account.
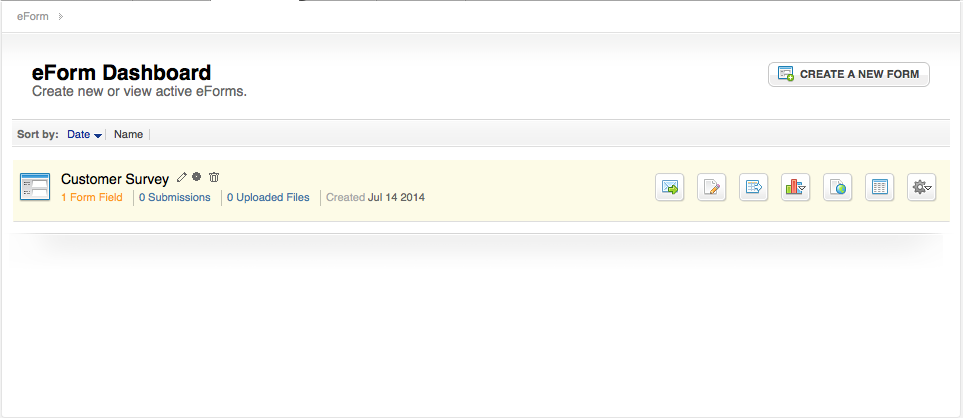
To edit any preexisting forms click on the gear in between the pencil and trashcan icons (left arrow) or click the paper and pencil icon (right arrow).
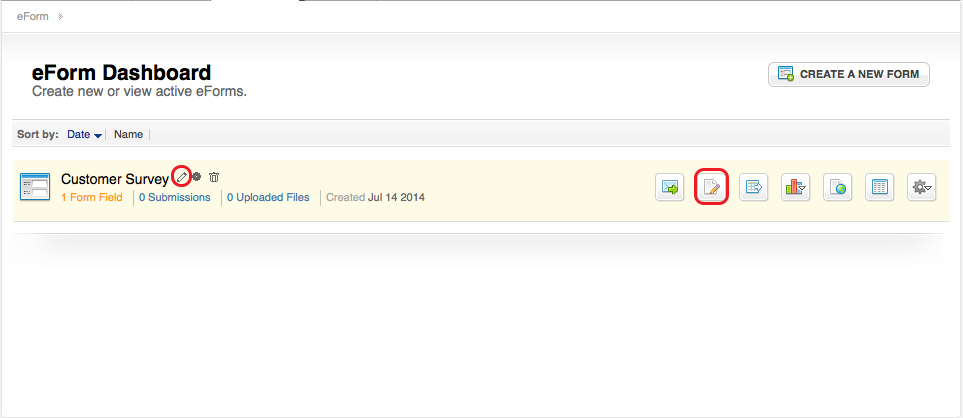
Click the Create a New Form button to begin.

Step one has two required fields: Form Name and Description. Once these forms are filled out, click next to continue (Red Box), or Save & Go to Dashboard (Black Box) to save your progress.
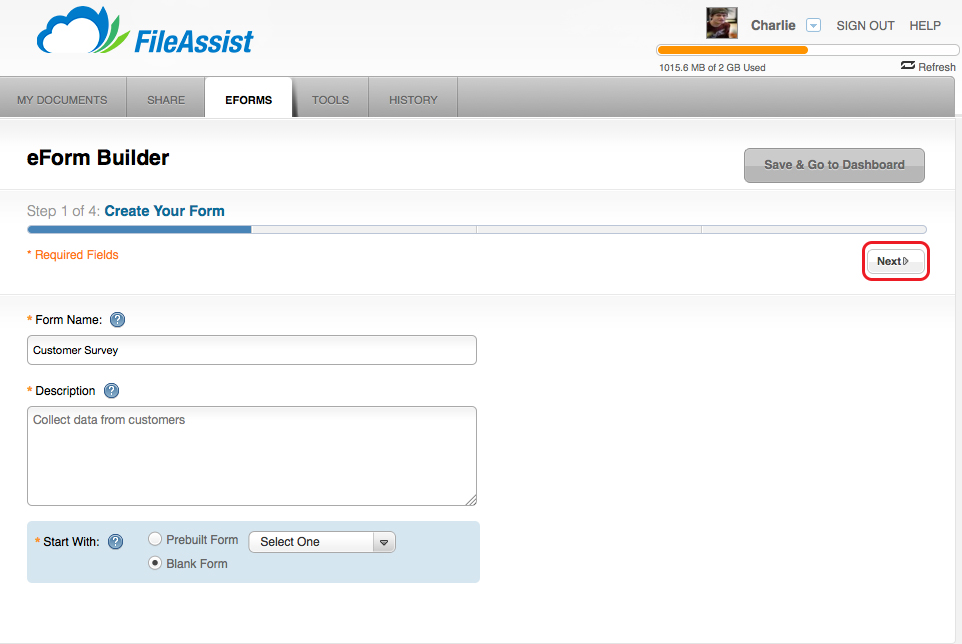
If you have already created a form that you want to use as a template for another eForm, click the Prebuilt Form button and select the desired form from the dropdown menu.

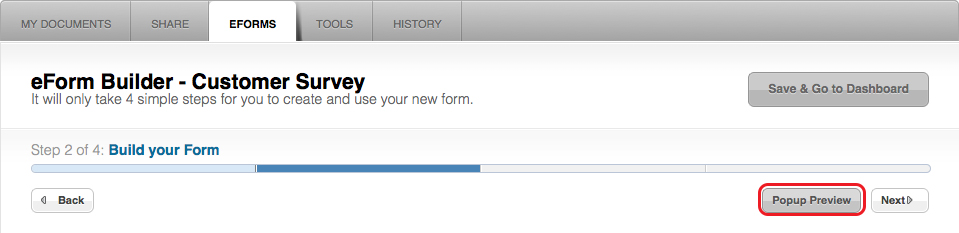
Below is step two of the eForm creation. There won’t be any fields because the eForm is completely customizable and guided by your needs.
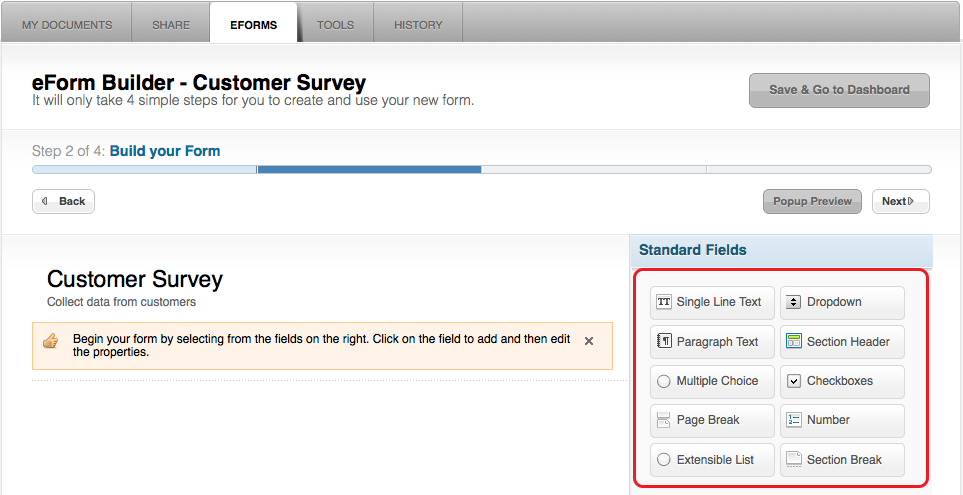
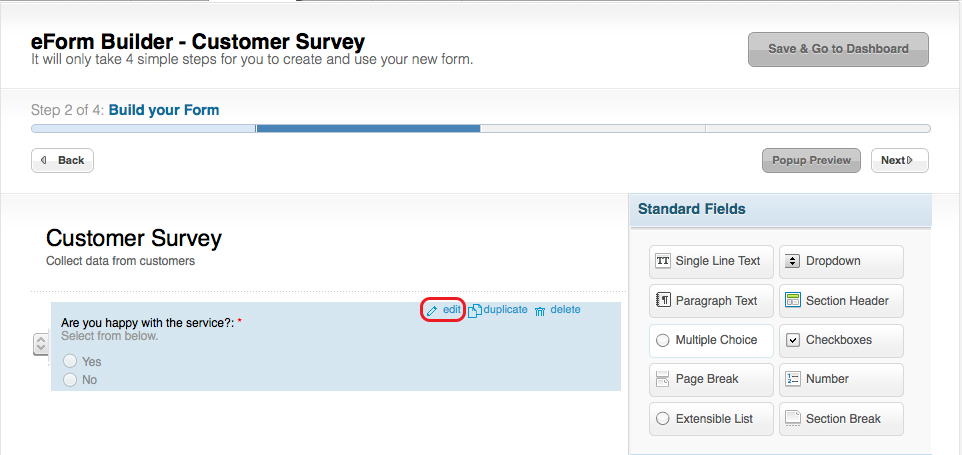
On the right hand side of the screen there are two types of fields you can choose from: Standard Fields and Advanced fields. Click on any of the fields to input them into your eForm. Remember, each of these different fields, Standard and Advanced, are fully customizable. For more information on the Standard and Advanced Fields, click here.
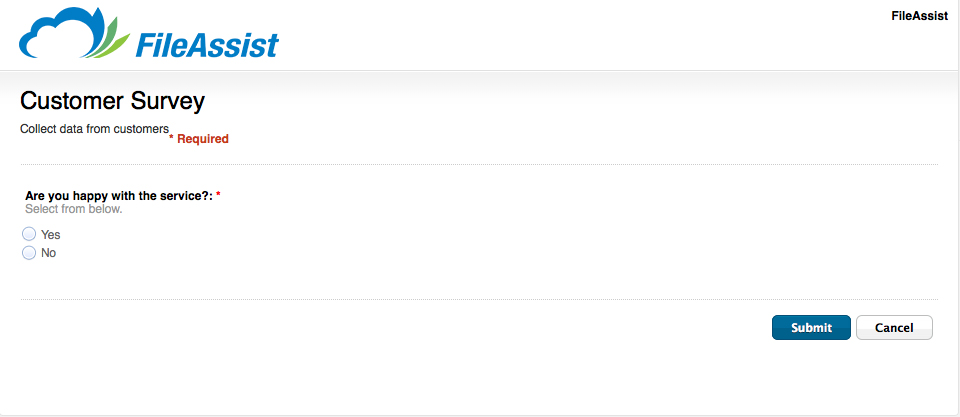
Once you’ve picked a few of the fields and customized their contents, click on the Popup Preview (red box) button to view the eForm as its recipients will see it.
Your form will appear in another tab in your browser that you may close after viewing the previewed eForm.
If after viewing the preview you are dissatisfied with one of the fields, move your cursor over the field and select edit. If you want to change the order of the fields, left click and hold on the sidebar arrows (red box) on the left hand side and drag the form above or below any others.
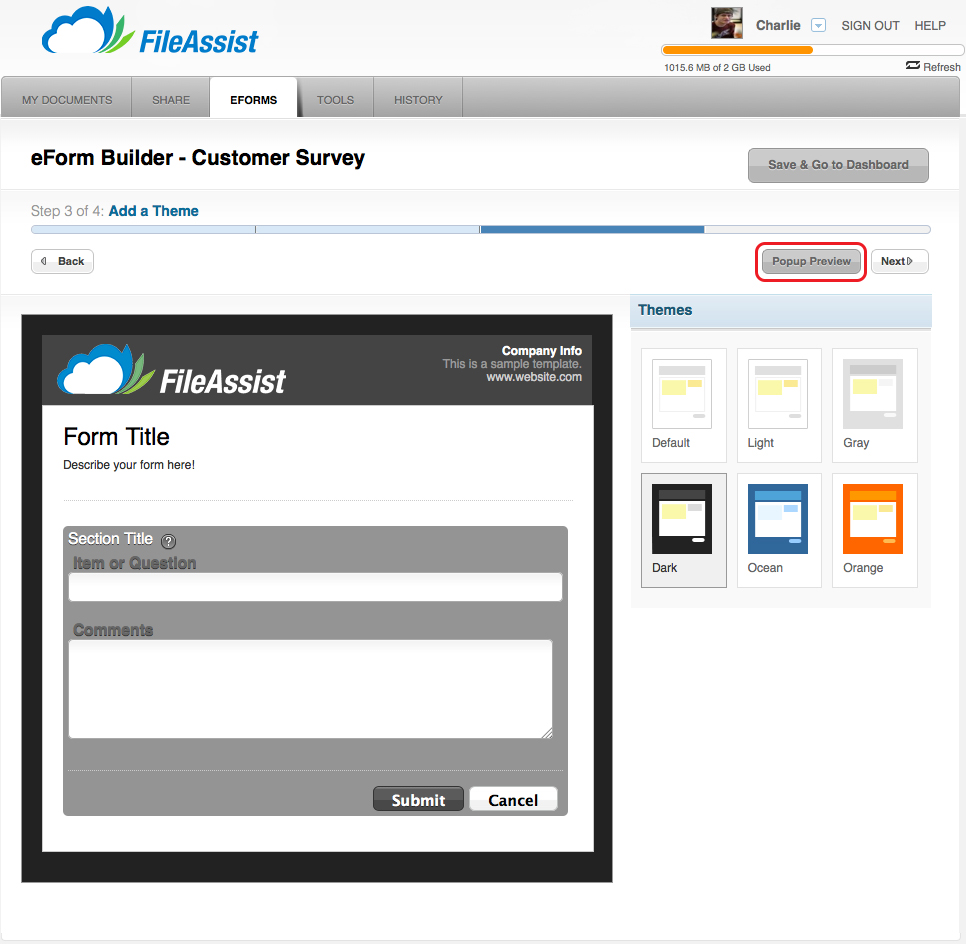
Once you are satisfied with your eForm, continue on to step three to Add a Theme. There are six different themes to choose from. Once you’ve made a selection, click Popup Preview to see how it looks. If you aren’t satisfied, choose another theme and preview it until you find a theme that suits your eForm.
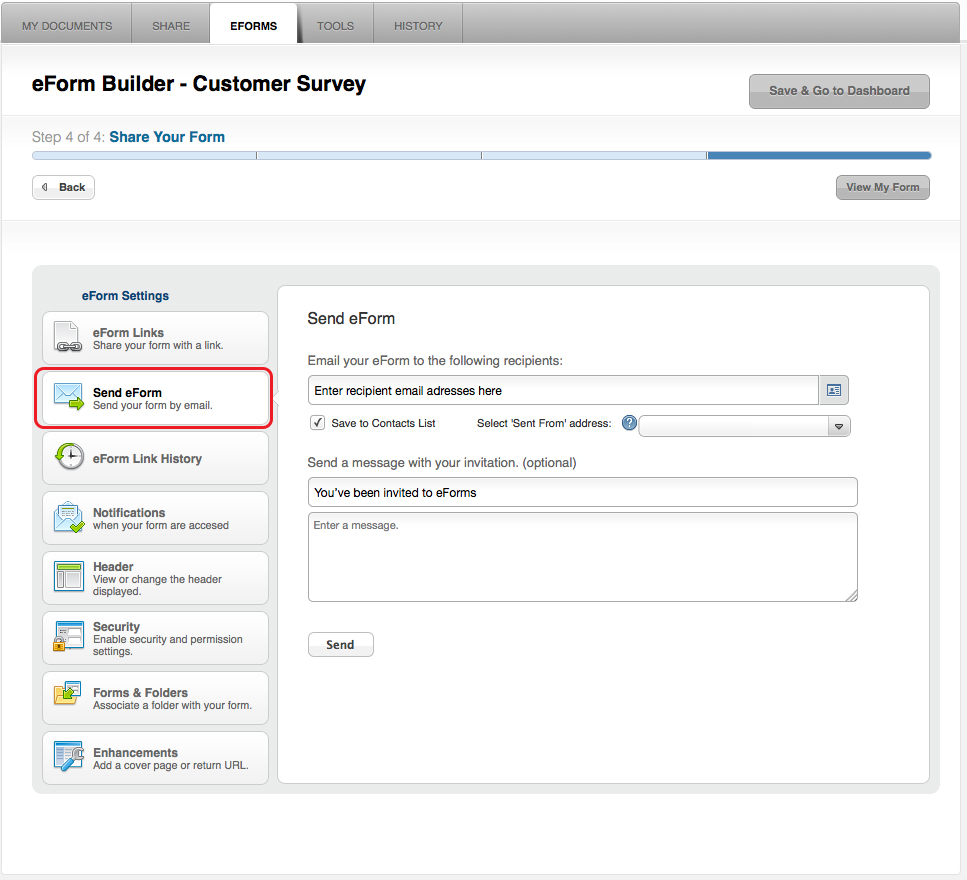
Click View My Form to verify the eForm works as you envisioned. Then, using the options on the left hand side, make changes to any of the eForm settings (Black), and send the eForm (Blue) or click Save & Go to Dashboard (Red) to save the form for later use. To learn more about the eForm settings, click HERE.
You’ve finished creating an eForm, but don’t fret if you find something you want to change down the road. You can always go back and edit a completed form. To learn more about the settings click here.
0 Comments