Overview: FileReceive Link Distribution Options
Choices are a great thing! FileAssist gives you lots of options to share and receive data, including multiple ways to distribute FileReceive Links. Here you'll find a quick overview of FileReceive Link distribution methods.
After selecting the options and permissions to govern your FileReceive Link, you have three options for sending the link to recipients: Create Link, Send with Outlook, and Send Link.
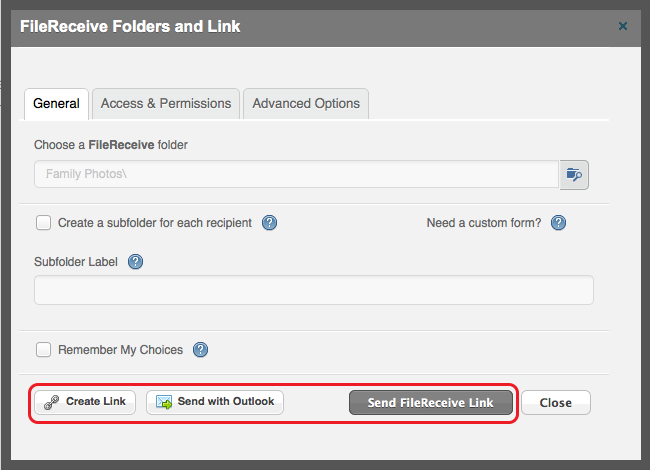
1. The Create Link button provides a link you may copy and paste to your desired location, including email, social networking sites, forums, etc.
2. The Send with Outlook button prompts an Outlook email window containing your FileReceive Link.
3. The Send Link button prompts the FileAssist email system giving you additional options.
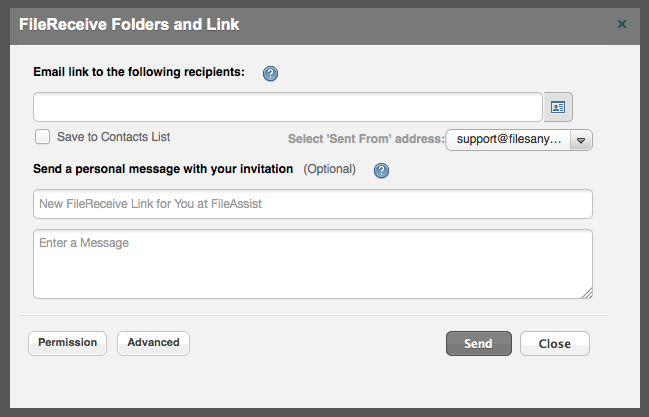
Manually enter email recipient email addresses or select the "Search Contacts" link to add email addresses saved in your contacts list.
Select the "Save to Contacts" check box to add manually entered email addresses to your contacts list.
You may elect to display your email or the FileAssist support email as the "Sent From" address for your recipient's email notifications.
The Subject line contains default text that may be personalized if you wish
You may enter an optional message for your FileReceive Link recipients in the Message: field.
Once complete, selecting the Send button distributes your FileReceive Link.
Note: FileAssist does not save the email addresses or messages entered when creating FileReceive Links. If you need to create a record of the message, please make sure to send yourself a copy of the email. You may view FileReceive Link recipients in the Active FileReceive Link Log.
0 Comments